Photographer’s Corner: Setting Up Your Site to Sell
June 9th, 2014
As photographers, we would like the purchasing process for our customers to be as easy as possible. It would also be great for everything to work as anticipated on the photographer’s side—smoothly and efficiently. However, when setting up your site to sell, it is not always possible to figure out, ahead of time, the best workflow or which tools you should take advantage of.
To save you some time (and minimize hair loss), we have compiled some ideas about selling workflow efficiency and highlighted specific tools that may be useful for you in the process of setting up your site. Also, feel free to leave comments at the end if you have any bits of wisdom that you feel like sharing. This is a community after all.  It’s important to think ahead about how your images are going to be used on your site when preparing them in your editing software. If you create a strategy for handling images beforehand, you can save yourself oodles of time and effort in the long run. (Raise your hand if you love efficiency!)
Understand Display Sizes
With customizable websites, different display-sized versions are automatically created for each image uploaded into a gallery. Having multiple sizes allows the flexibility for viewing your images on a variety of browser window sizes (if your galleries are dynamic). If you think ahead and create images for uploading that are at least the largest display size possible, then you can maximize the quality of how your images will look on your site.
Add Metadata to Original Files 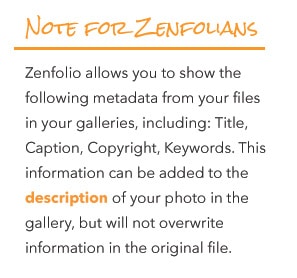
If you are using your site for storage and want to download your original files at a later date, add all pertinent information such as keywords to your files before uploading them. This way the information is still available in the original file if you need to download it back to your computer.
Sizing Suggestions
Because many sites can also be used for placing orders, knowing the best size to upload can be confusing. The ideal solution is unique for each person’s chosen workflow. Here are some scenarios to consider:
1. You sell a lot of images and want the original file to go straight to the lab 
In this situation, it would be best to upload images that are the minimum resolution of the largest display size available and will meet the resolution requirements for all products that you offer through your partner labs.
2. You want to upload edited files into each order before they go to the lab
In this situation, it would be best to upload images that are the minimum resolution of the largest display size available in the gallery. This will lower the total amount of time it takes to upload your files. Having the option to view your orders before they go to the lab will give you time to upload larger, edited files to the order before approving them.


 It is also important to consider how your client is going to navigate to their gallery. Some folks are not concerned about privacy of images and use one landing page from their site menu for all client galleries. The client can search through the thumbnails or use a search feature to find the name of their gallery.

![]() However, if you are concerned about keeping your client’s images private, consider using a private entrance page, where your clients can enter a unique code to find their gallery. It’s also a good idea to add a password to the gallery so outsiders cannot see the images if they come across the link, and to set up the gallery so that search engines do not include these images in search results.
However, if you are concerned about keeping your client’s images private, consider using a private entrance page, where your clients can enter a unique code to find their gallery. It’s also a good idea to add a password to the gallery so outsiders cannot see the images if they come across the link, and to set up the gallery so that search engines do not include these images in search results.


Special Notes for Zenfolio Users about Image Protection
The Client Access page does not entirely protect the images from being publicly viewable. Here are some additional actions you can take to make sure that your clients’ images are completely private:
- Password Protection
You can apply a password to the gallery in Access Control and make sure all the images inside the gallery are set to unlock when the gallery is unlocked. First, set the gallery password and then click Select All under the thumbnails and check “Same as containing gallery…” at the top of the window in Access Control.
- Keep Your Images out of Search Engine Results
Protect your images from appearing in search engines by setting up your gallery so it will not be searched (before you add any images to the gallery). This can also be done in Access Control in Search and Metadata. By default, new images uploaded to the gallery will follow the same setting as the gallery.}
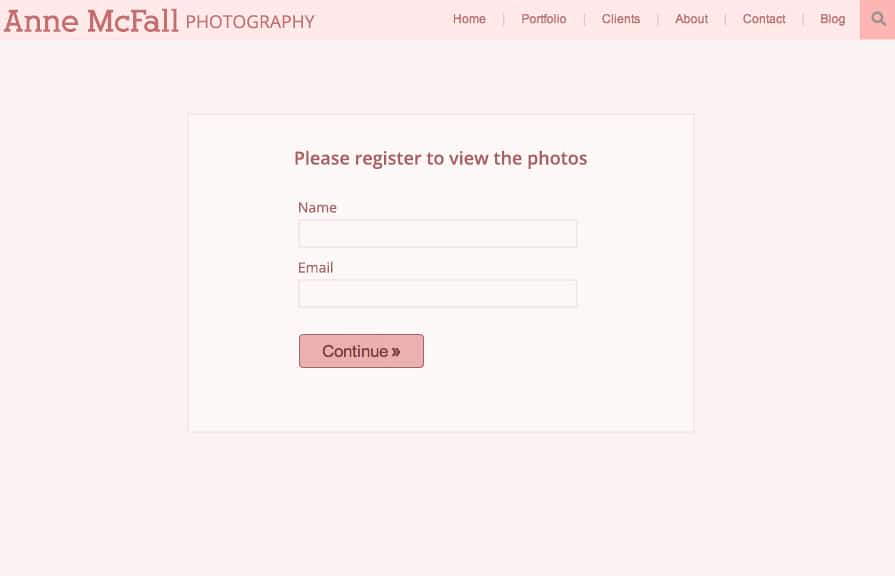
 If you want to learn more information about the people who visit your site, you can enable Visitor Sign In for your galleries to collect their name, email address and phone number. You might even ask a question such as, “How did you find us?” to learn more about which marketing efforts are working or who referred them to you.

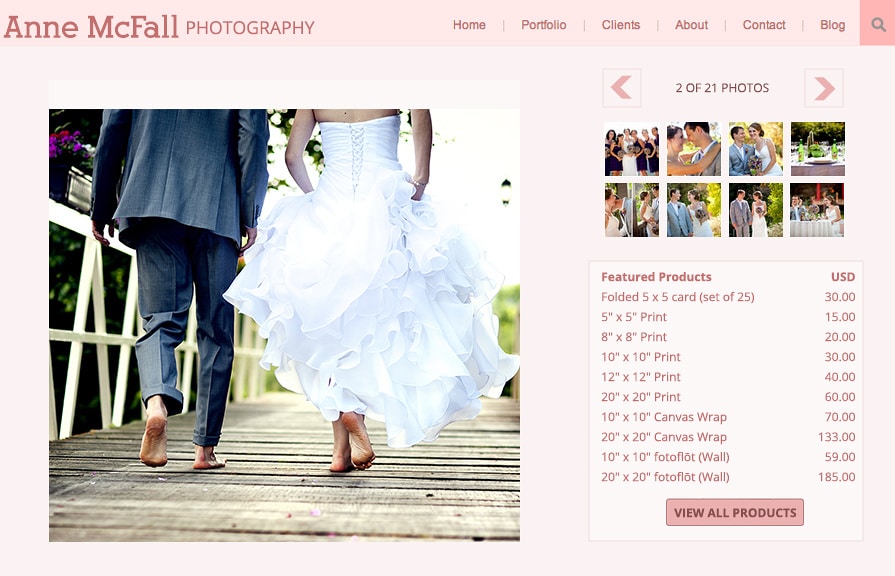
 To shorten the number of clicks it will take for your customer to add a product to the cart, you can enable Featured Products in your galleries. These products appear as links next to your images. When your client is browsing through the gallery, they can be inspired by your product suggestions, click on the link, add the product to the cart, and continue shopping.
 When it comes to photography, it is easy to enjoy viewing images in the gallery and put off buying prints until later. To give your clients more incentive to commit to a purchase in your desired time frame, consider using any of these three options:
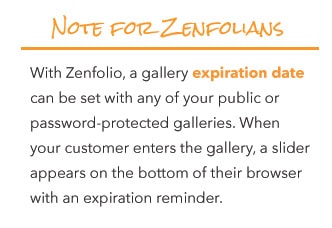
- Set a Gallery Expiration Date Setting a gallery expiration date is a great way to encourage customers to make a purchase before their images become unavailable to them.
- Give Coupons with a Minimum Order Requirement and Expiration Date
Coupons are a great way to encourage customers to make a purchase on your site. Creating a coupon with a minimum order requirement will ensure that your customer is purchasing enough to pay for the cost of the products and for you to still earn a profit. By setting an expiration date for the coupon, you are encouraging them to make their purchase by a specific date.
- Offer Packages
By creating packages and lowering the total cost of what customers would pay for the same items a la carte, you are encouraging visitors to buy more at one time and they feel like they are saving money. You can earn more by offering packages because you set a minimum price point for selling, whereas with a la carte items, customers may purchase fewer items at one time.

Testing is the last step before inviting your clients to their gallery. It is always good to log out and test the gallery before sending out a link because it can be embarrassing to have something go wrong when a client is trying to view their images for the first time. It is also good practice so you know how the ordering process works.
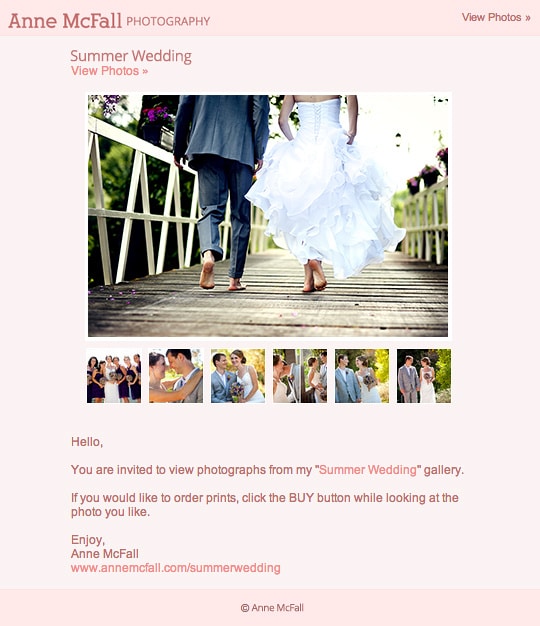
 When you are confident that your site is ready, you can send a beautiful email invitation to invite visitors to their gallery. This is a great way to communicate with your clients and keep them excited about viewing images and buying products.


 Building strong SEO for your site requires patience, common sense, and continuous action. Here are the steps you can take to get the ball rolling:
- Submit a sitemap to search engines like Google and Bing.
- Add a display name and a website description.
- Add rich, relevant text to your pages such as “San Francisco Bay Area portrait photographer” as opposed to generic text such as “photos, photography,” etc. to help your market find you.
- Use smart keywords and categories on thumbnail and photo pages. Note: Search engines will actually punish people who stuff sites with irrelevant text—so save stuffing for the holidays.
- Show categories, keywords, titles and captions on thumbnail and photo pages. (Otherwise they will not be crawled.)
- Create friendly links for your galleries.
- Add alt attributes for individual photos.
- Be Active. This is probably the most important thing you can do. You can share your site through social media and with your contacts and friends; cross reference by sharing your links on other sites (and share theirs on yours); and maintain a blog that has relevant content that your audience would be interested in.


